Bot Forms
The Bot Forms page allows you to create interactive forms (Bot Forms for short) which you can add to your web site.
The page lists all currently available bot forms in the database and shows usage counters and charts.

- Displays - shows how many times forms were visited this and the previous months.
- Submits - shows how many times forms were submitted this and the previous months.
- Conversion - shows how well the forms converted visitors to form submitters, that is, the ratio of counts of form submits vs. count of form displays.
- Active Forms - shows how many forms have been displayed this and the previous months.
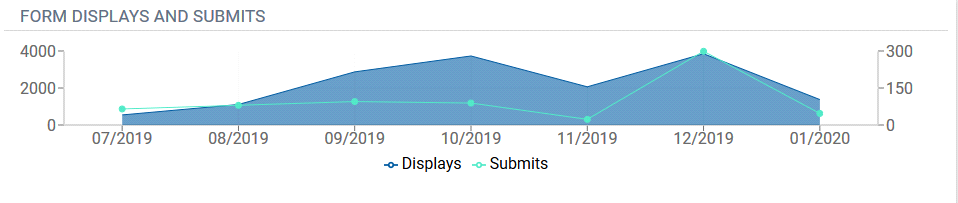
The Form Displays and Submits chart shows how many forms were displayed and submitted per month:
To create a new bot form click New Bot Form.
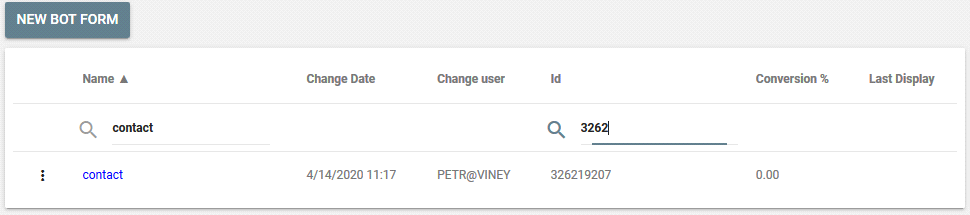
If needed, click in the header of any column to sort forms by values of the column.
You can search forms by Name, and ID fields:
Click  in the first column of a form row, you want to invoke a command menu for:
- To see detailed information about all times the form has been submitted, choose Submits
 . You will see who and when has submitted the form and what data it included.
 - To edit the form, choose Edit
 in the form row.
 - To create a copy of the form, choose Duplicate

- To remove a form, choose Delete

Saving Form
To save a form, click  . The Save button is red when there are changes to be saved in your form.
When there are no changes to be saved or the form is invalid then the Save button becomes gray and can't be clicked : 
Checking Form Submits
To see the detailed information about all times the form has been submitted, click  . (This command shows the same "Submits" page shown using the Submits command in the list of all forms.)
Click Export to Excel to export the list of form submits into an Excel file.
Configuring Form Settings
Base Settings
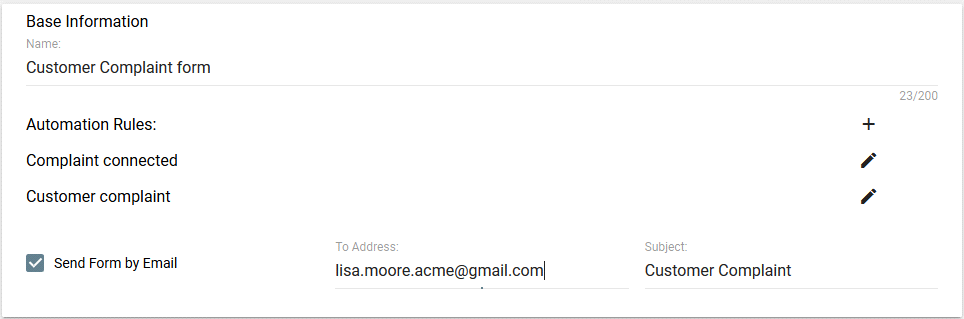
You can configure the main form settings using the Base Information pane at the top:
- Use the Name field to give the form an internal name. Users will not see this name anywhere.
- Select Send Form by Email if you want to send the form by email when the form is submitted.
Adding an Automation Rule
Often you want to use an automation which starts when your form is submitted. For this, the automation rule must have the Form Submitted trigger. The Automation Rules list shows all rules which include the Form Submitted trigger for this form.
To edit a listed rule, click next to it.
If you want to create a new automation rule then please click +.
Bot Forms
Creating a Bot Form
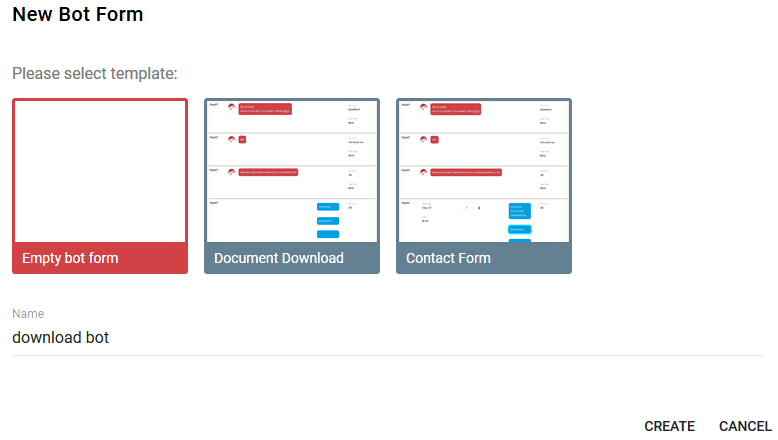
- To create a new form click NEW FORM.
- Select a Bot Form template or select Empty bot form if you want to start from scratch.
- Enter a name for your form.
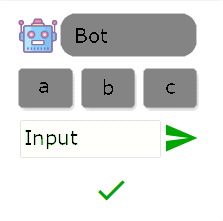
- Click Create. The initial form will be created:
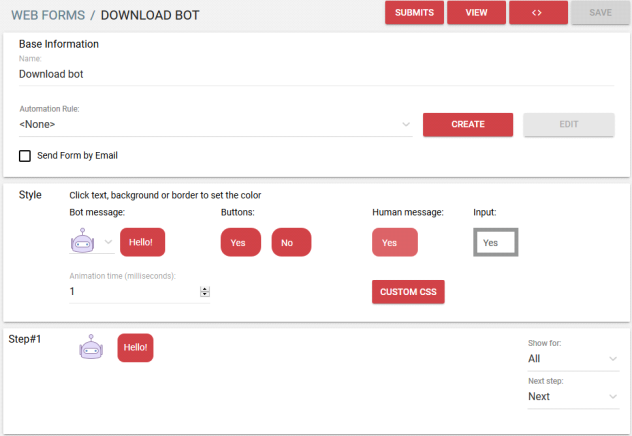
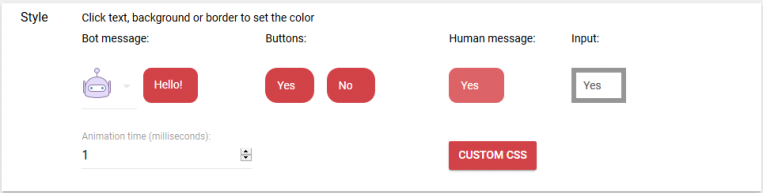
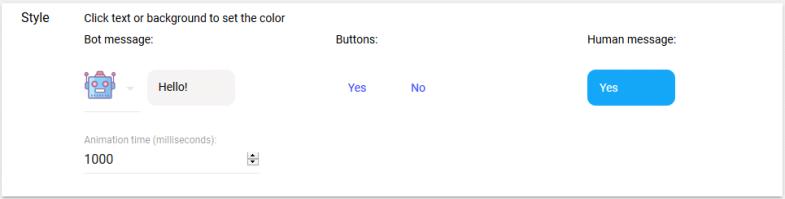
Setting Form Styles
Use the Style pane to customize your bot with your own look:
- Select an image for the bot from the list :
 .
.
Select More... to browse and load any custom image. It is recommended to use 40x40 px PNG images.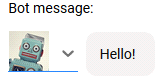
- Set the background colors for bot and human messages and buttons.
- Set the text colors for bot and human messages and for buttons.
- Adjust the animation time which will delay when bot messages appear using the following typing indicator:
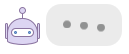
Animation time in the range from 0.1s (100 milliseconds) up to 10 secs (10000 ) is usually used.
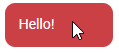
Setting Background Colors
To set the background color for a message box, point to the background area and click when your cursor looks like an arrow
A color picker will appear where you can configure the needed color as follows:
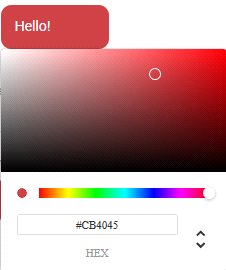
You can click in the gradient area at the top to pick different shades of your selected color. Below is a slider allowing you to adjust the Hue of the selected color.
You can also enter directly the actual value of your color. It can be in RGB, HSL or Hex formats which you can choose using the up and down arrows on its right.
Setting Text Colors
To set the text color for a message box, point to the text and click when your cursor looks like an I-cursor:
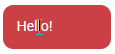
A color picker will appear where you can configure the needed color for your text in the same way as for background colors.
Setting CSS
If you want to custom tune your forms then click Custom CSS and insert your own CSS using HTML classes you can check using browser developer tools.
Saving a Bot Form
Click Save to save your changes to the current form.
Previewing a Bot Form
Click  to preview and test your bot form :

Adding a Bot Form To a Web Page
To add a Bot Form to your HTML 5 web page you need to insert a special DIV element to your HTML code.
Click  .
.
If you created your site using WordPress or Joomla then select WordPress or Joomla, respectively, for instructions to add the form to your web pages. You can do this using the WordPress Vine plug-in or Joomla Vine plug-in, respectively.
For all other systems, select Other and then click Copy to get the needed DIV code to the clipboard:
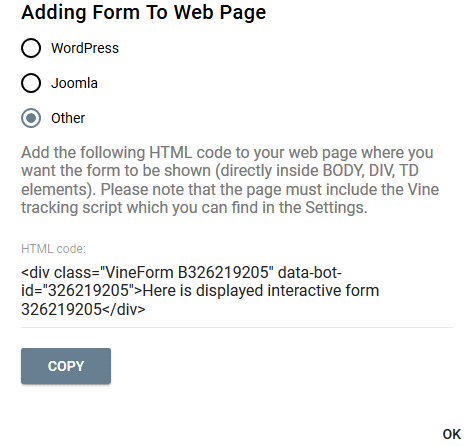
Now you can go to your web page and insert the code from the clipboard in the place where you want the bot form to appear.
Embedding Bot Form
<!DOCTYPE html>
<html>
<head>
<!-- This has to be added to all web site pages to make Vine tracking work: -->
<script src="https://dev.vine.eu/track/t.js?sg=326180055" > </script>
</head>
<body>
<
<p>hi ! </p>
<div class="VineForm B326219207" data-bot-id="326219207">Here is displayed bot form 326219207</div>
</body>
</html>
Organizing Bot Form Steps
Adding a Step
To add a new step:
-
Scroll to the step after which you want to add a new step and click the Plus sign at the bottom of that step
 .
. - A list of available steps will appear. Find and click the step you want to add:
|
Message
Buttons
Input
Submit |
|
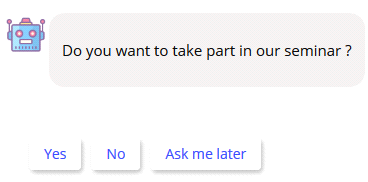
Selecting Step Visibility
For each step, you can select its visibility at the right of it :

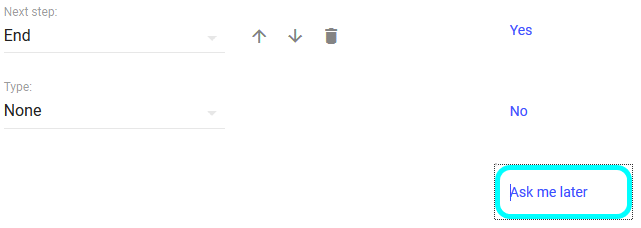
Setting next step
For each step and for each button you can select a step to jump to after the current step. By default, the next step is the step right after the current one. Select End if you want the step sequence to terminate after the current step.
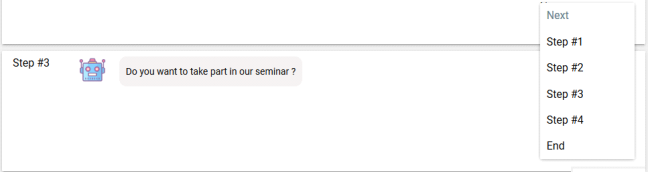
Please note that the editor checks for steps which cannot be accessed (depending on your current position) and shows those in gray. This helps to create correctly working bots, especially ones with multiple branches.

Moving a Step
Select the step you want to move and drag it to a new location. Step numbers will be updated everywhere automatically.
Removing a Step
Select the step you want to remove and click the dust bin icon  .
.
Copying a Step
Select the step you want to create an exact copy of and click  .
.
Editing Step Types
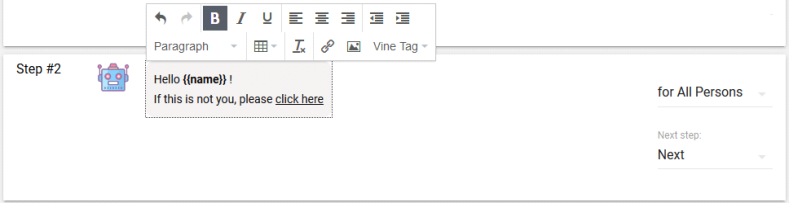
Message
Use a Message step to show an HTML based message.
Use the simple built-in HTML editor to create your message:
|
Button |
Name/Info |
Description |
|
|
Undo/Redo |
|
|
|
Bold |
Select text and click this to make it bold |
|
|
Italic |
Select text and click this to italicize it |
|
|
Underline |
Select text and click this to underline it |
|
|
Align Left Align Center Align Right |
Select text and click this to align text to the left, center it, or align to the right |
|
|
Decrease Indent |
Click this to indent less |
|
|
Increase Indent |
Click this to indent more to the right |
|
|
|
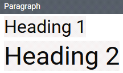
Select text and apply predefined formats, such as paragraph, heading levels, etc. |
|
|
Table |
Click here to insert and configure a table |
|
|
Clear Formatting |
Removes the formatting of the selected text |
|
|
Insert Link |
Click here to insert link. |
|
|
Insert/Edit Image |
Click this to insert/edit image, for example a logo image. |
|
|
|
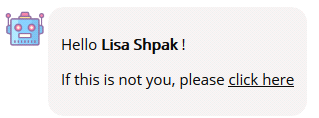
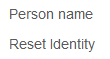
Click here to insert Vine elements: Person name - a placeholder for Firstname Lastname of a recognized person Reset Identity - a special link which resets the person stored in the browser cookies. |


Buttons
Using the Buttons step you can create a row of buttons which the user can click to perform actions set for them.
Buttons of the following types are supported:
- None - no action performed when clicked. Can be used, for example, to skip actions and go to the next step.
- URL - use this action to specify a web address which you want to open in the browser when the button is clicked. You can specify the target browser windows where you want the set address to open.
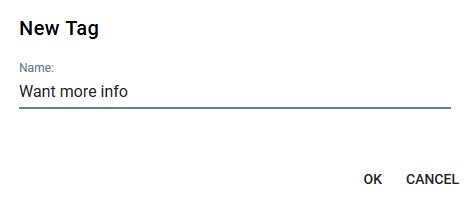
- Tag - use this when you want to tag the user when the button is clicked:
- Email List - use this when you want to add the user to an email list when the button is clicked:
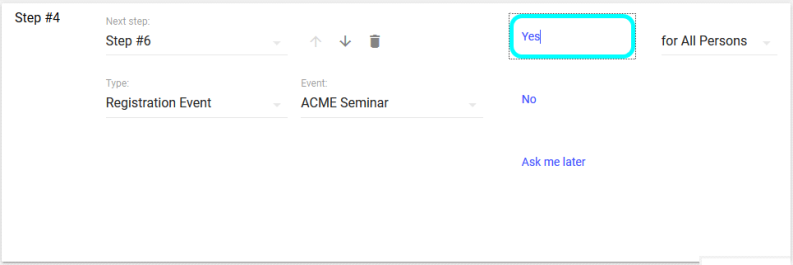
- Registration Event - use to register the user to an event


Click Create if you need a new tag, enter its name and click OK.
 I
I
Input
Using the Input step you can collect data from the user.

Select a needed field from the Field list:
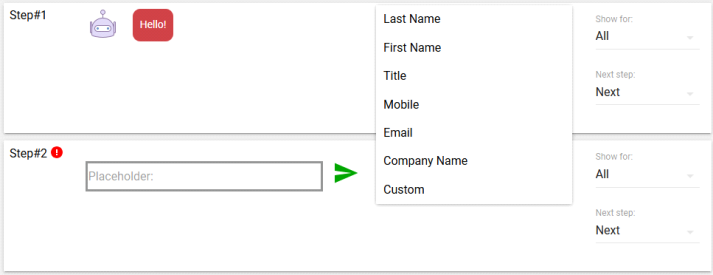
Placeholder will be automatically entered, but you can edit it:

Submit
The Submit step does not show anything to the user. It only sends all the form data collected up to this step to the Vine server for processing.
